I hope that this is a better documentation than in Adventures in Dyeing Part 2. I hope to be able to eventually find the technique that works best for me. I'm not sold on this one; I hand-painted the yarn this time using squeeze bottles and the Wilton Dyes.
1. Prep the Yarn

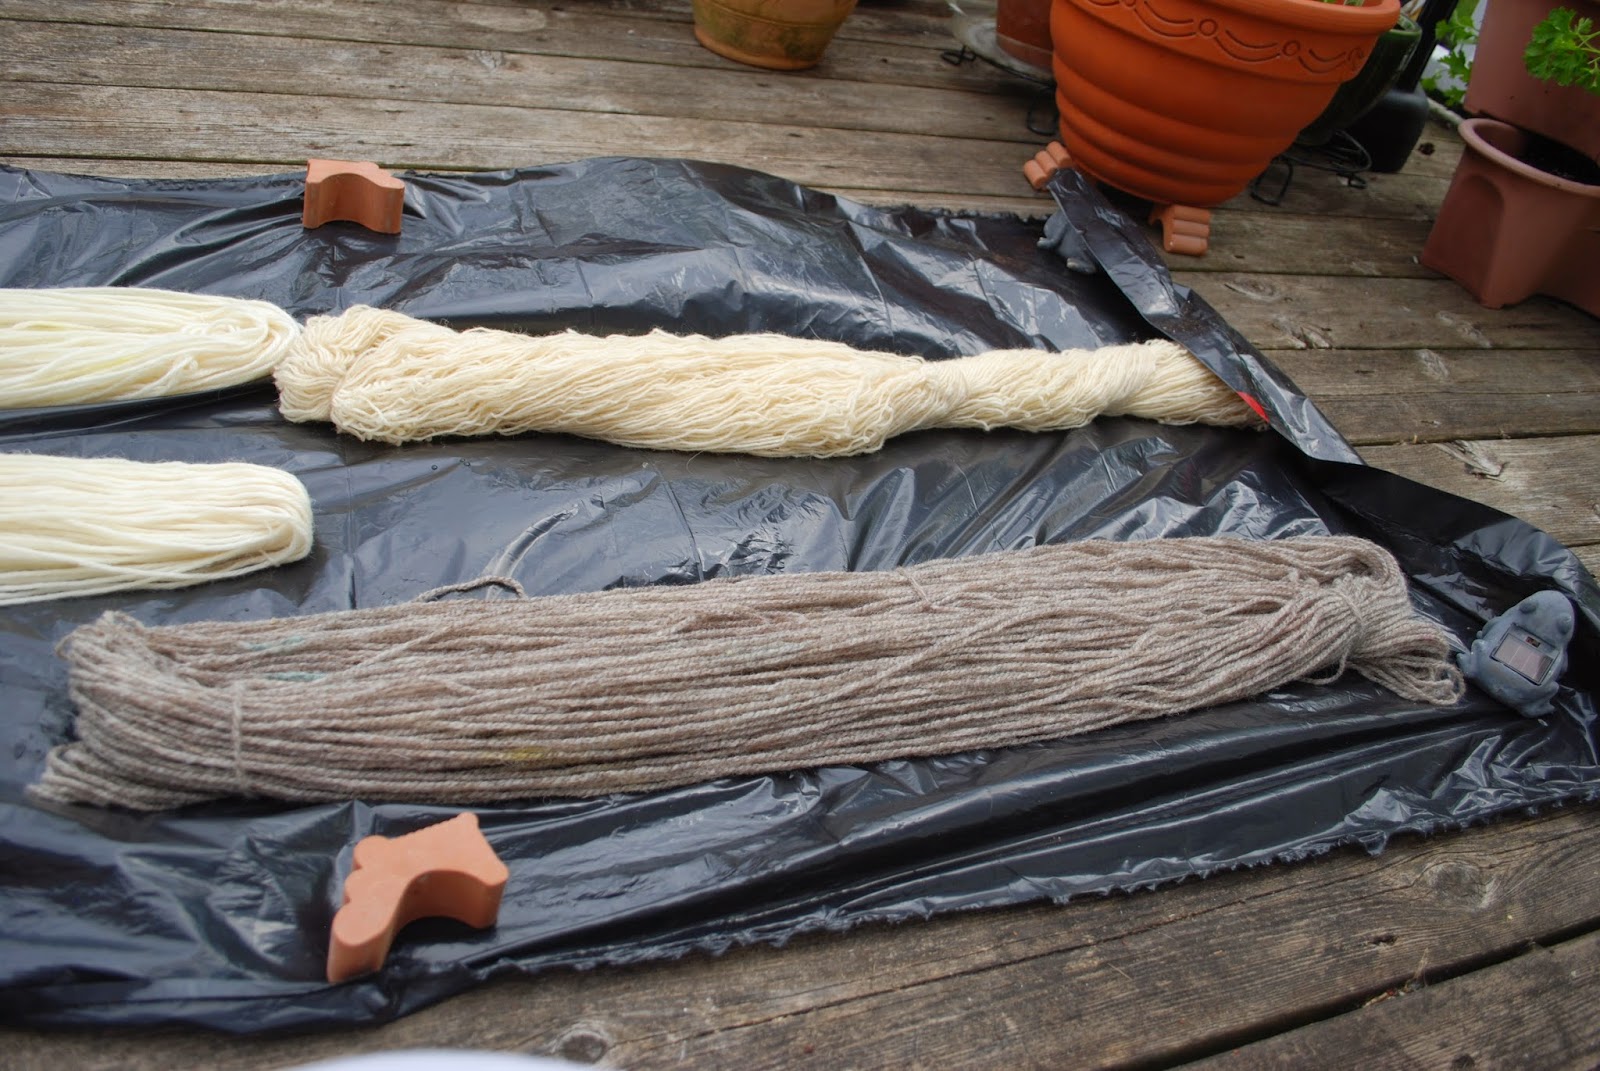
I pre-soaked (or wetted) the yarn in a solution that's 1:3 vinegar:water for an hour or so. Then after wringing it gently, I laid it out on a plastic sheet (garbage bag). Today I used 2 skeins of Knit Picks Bare Wool Bulky (top image), a skein of Briggs & Little Sport Natural, and a skein of Briggs & Little Heritage Sheeps Grey (image below, top and bottom).

2. Prep the dyes
 The great thing about using the squeeze bottles is that they are marked with measurements. The bottles take 8oz of liquid, so I filled each to 2 1/2oz vinegar, then added about 1/2tsp of the Wilton gel and stirred to start to dissolve it. (This was not 100% successful, not all of the gel dissolved in the vinegar and some still came out in globs. Next time, I'll dissolve the gel in warm water and then add the vinegar). I then filled the bottle with water, screwed on the lid and shook to mix the dye. Note: squeeze bottles from the Dollarama don't seal too well, so dye leaked out. I'll have to pick up a better set.
3. Paint the yarn
Using the squeeze bottles, I painted stripes on the yarn, overlapping colours where I saw fit.


 Once the colour is set, I let the skeins cool down on the deck in their bowls. To finish things off, I rinsed the yarn under lukewarm water and then soaked it for about 10 minutes in Soak. A quick wringing and spin in the salad spinner and it was ready to hang to dry on the deck.


I pre-soaked (or wetted) the yarn in a solution that's 1:3 vinegar:water for an hour or so. Then after wringing it gently, I laid it out on a plastic sheet (garbage bag). Today I used 2 skeins of Knit Picks Bare Wool Bulky (top image), a skein of Briggs & Little Sport Natural, and a skein of Briggs & Little Heritage Sheeps Grey (image below, top and bottom).
2. Prep the dyes

3. Paint the yarn
Using the squeeze bottles, I painted stripes on the yarn, overlapping colours where I saw fit.

For the bulky, I painted one end with Red Red, and the other with Lemon Yellow. I blended the 2 in the middle by overlapping the colours, but with a slightly watered down red.

The Sport (top) and Heritage (bottom) both have a combination of the Lemon Yellow, Sky Blue and Black. The really cool thing about the Black dye is that it's not black at all. Even as the dye hits the wool, both purple and green are evident!
4. Blend the Dye
To blend the colours into all strands of the yarn, I gently squeezed the yarn, making the painted stripes blend together, softening the effect.


5. Set the dye
I carefully lifted the skeins and gently wrung them out before placing the yarn (lightest side up) into Pyrex bowls for steaming in the microwave. Unfortunately, I wasn't as careful as I thought and some of the green pooled on the plastic, affecting the yellow of the bulky yarn.
To steam, I microwaved each bowl of yarn on high for 2 minutes, then let them rest for 2 minutes and repeated this a total of 3 times until he water ran clear when the yarn was lifted out of the bowl. (When you do this, don't forget to put a plate or loose fitting lid on top to trap the steam, while still letting some escape.)

6. Finish the yarn


I'm pretty pleased with how the yellow/blue/black dye combos worked out. I expected to get a purple and green result from the black dye, but didn't expect that the blue would disappear into it and the yellow to result in so much green.

As for the red/yellow, I expected a little more red or orange from the dye and a lot less pink. The blend between the 2 colours was mostly successful, but I'm not keen on the orangey-pink colour in the final product. I think I will either over dye the whole thing in yellow or a different shade of red. The fun is in the experimentation and the unexpected results. The accidental pooling of green that crept onto the yellow/red actually had a nice result, adding a little more interest to the boring old orangey-pink!

No comments:
Post a Comment